Quickstart
This page will give you a fast track tutorial on how to get started with Domino platform.
Setup
Install
System dependencies
In a clean Python environment, install domino-py running:
pip install domino-py[cli]
Run Domino
Github token
Domino Pieces are distributed in Github repositories. In order to reliably install them, it is recommended to provide a Github token at the start up of the platform.
It is very simple to generate Github access tokens. See Authorizing Domino to access Github repositories for a basic step-by-step.
If no token is provided, Domino will still be able to run, but some features will not be available.
In a new, empty directory, run:
domino platform run-compose --github-token <your_github_token>
Or run without a github token (some features will not be available).
domino platform run-compose
This command will create the necessary files and directories to run Domino platform using Docker Compose. For more information about this and other modes of running, see Run Domino.
It might take a few minutes to run, specially the first time, since it will download and run a couple of necessary Docker images. Once the platform is up and running, success messages will be printed to your terminal and you will be able to access the Domino GUI at localhost:3000.
The platform will not be fully functional if you do not provide a github token.
The preferred way to run Domino is passing your token through the --github-token flag
Using the Domino GUI
Authentication
- Sign In
- Sign Up
email: admin@email.com
password: admin
Select a workspace
You are now at the Workspaces page. As a new user you get a default workspace from the start, click on the Default card to select it.
You can create more workspaces, configure them and invite other users to collaborate with you later on. To return to this page in the future, click on the Workspaces button, the first on the left side navigation bar.

Building a workflow
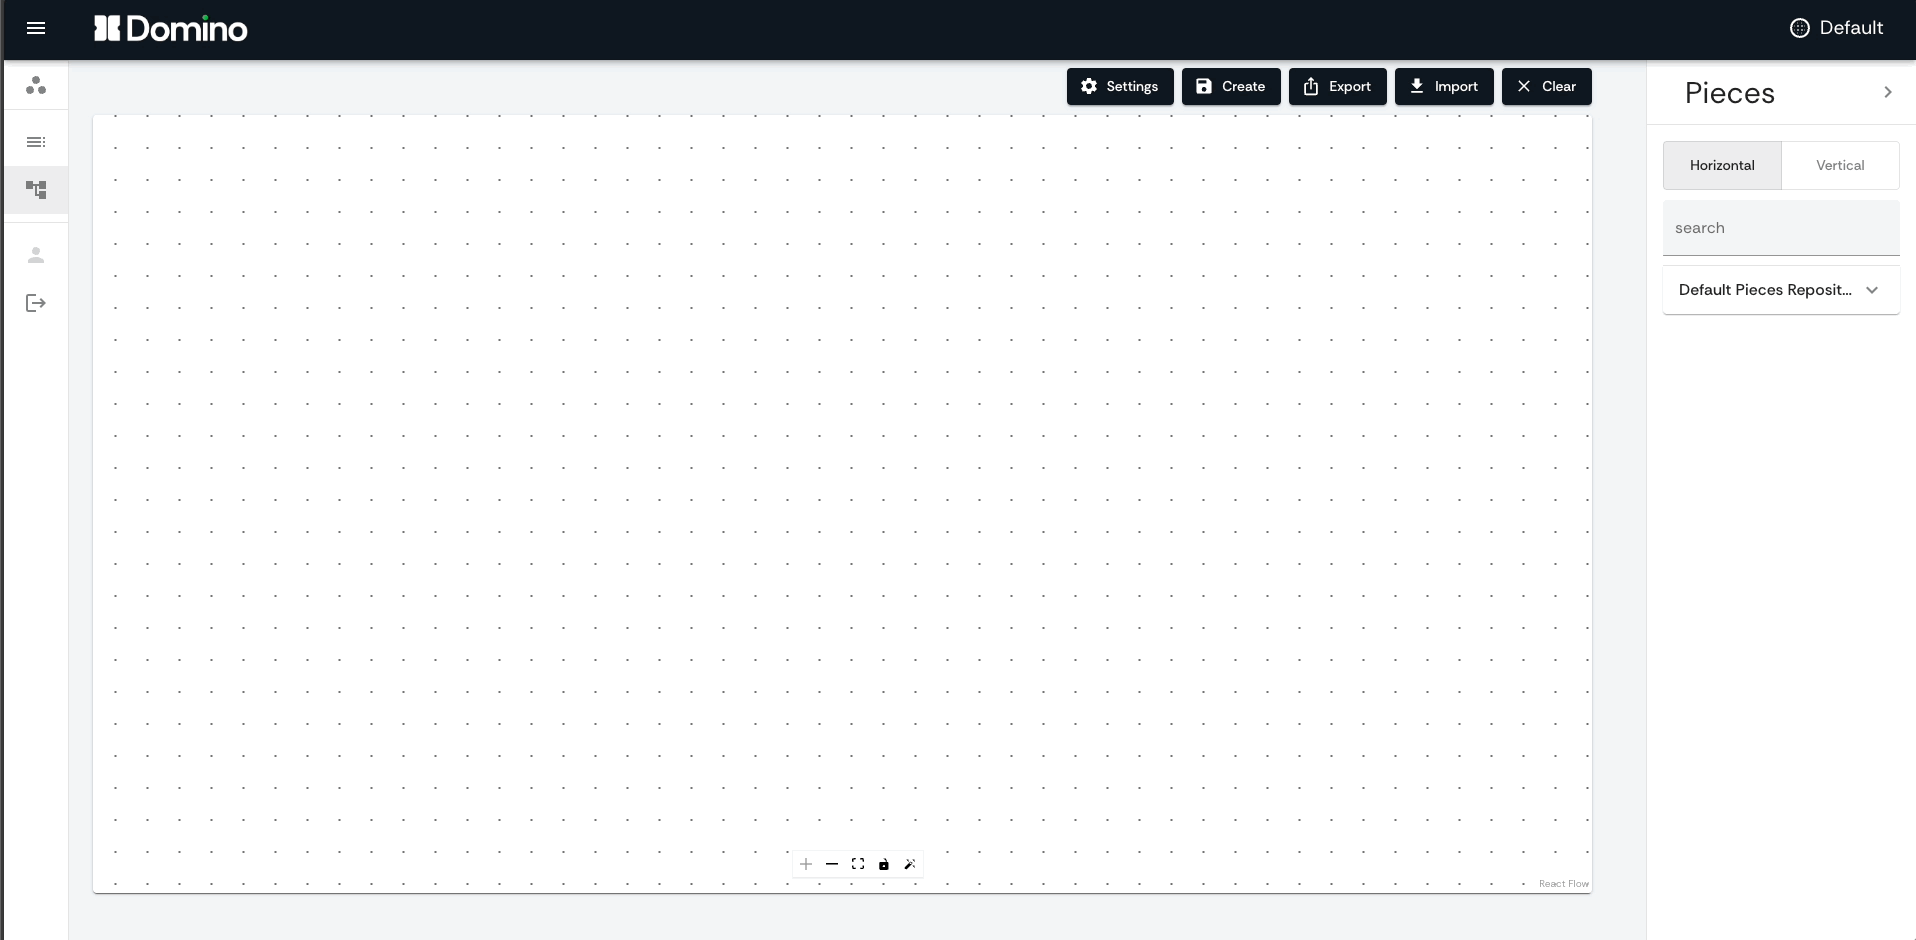
Time to build your first Domino workflow! Click on the Workflow Editor button, the third on the left side navigation bar, to open the Workflow Editor page.
This is the space where you will turn your ideas into reality. You can drag and drop Pieces from the right side bar to the canvas, connect them and configure them to create any workflow.
For an easy start, click the Import button and then from examples gallery. Here you will find a few examples of workflows with different levels of complexity that you can use to learn Domino.
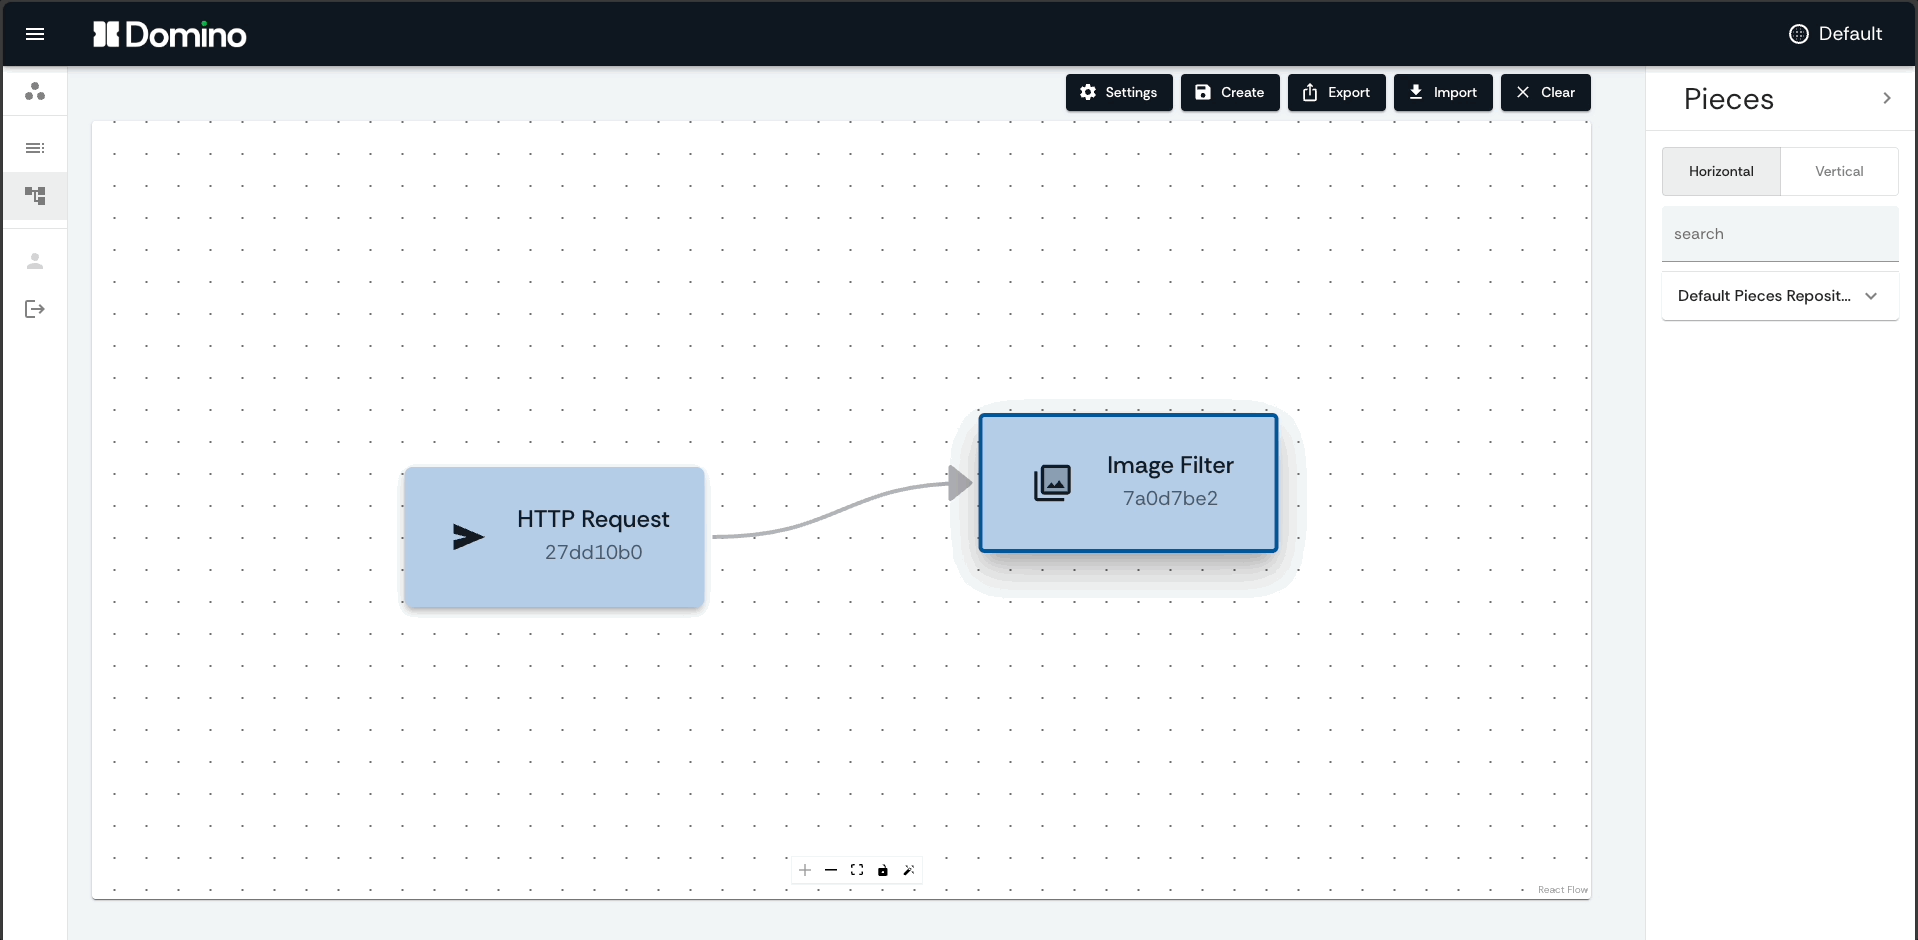
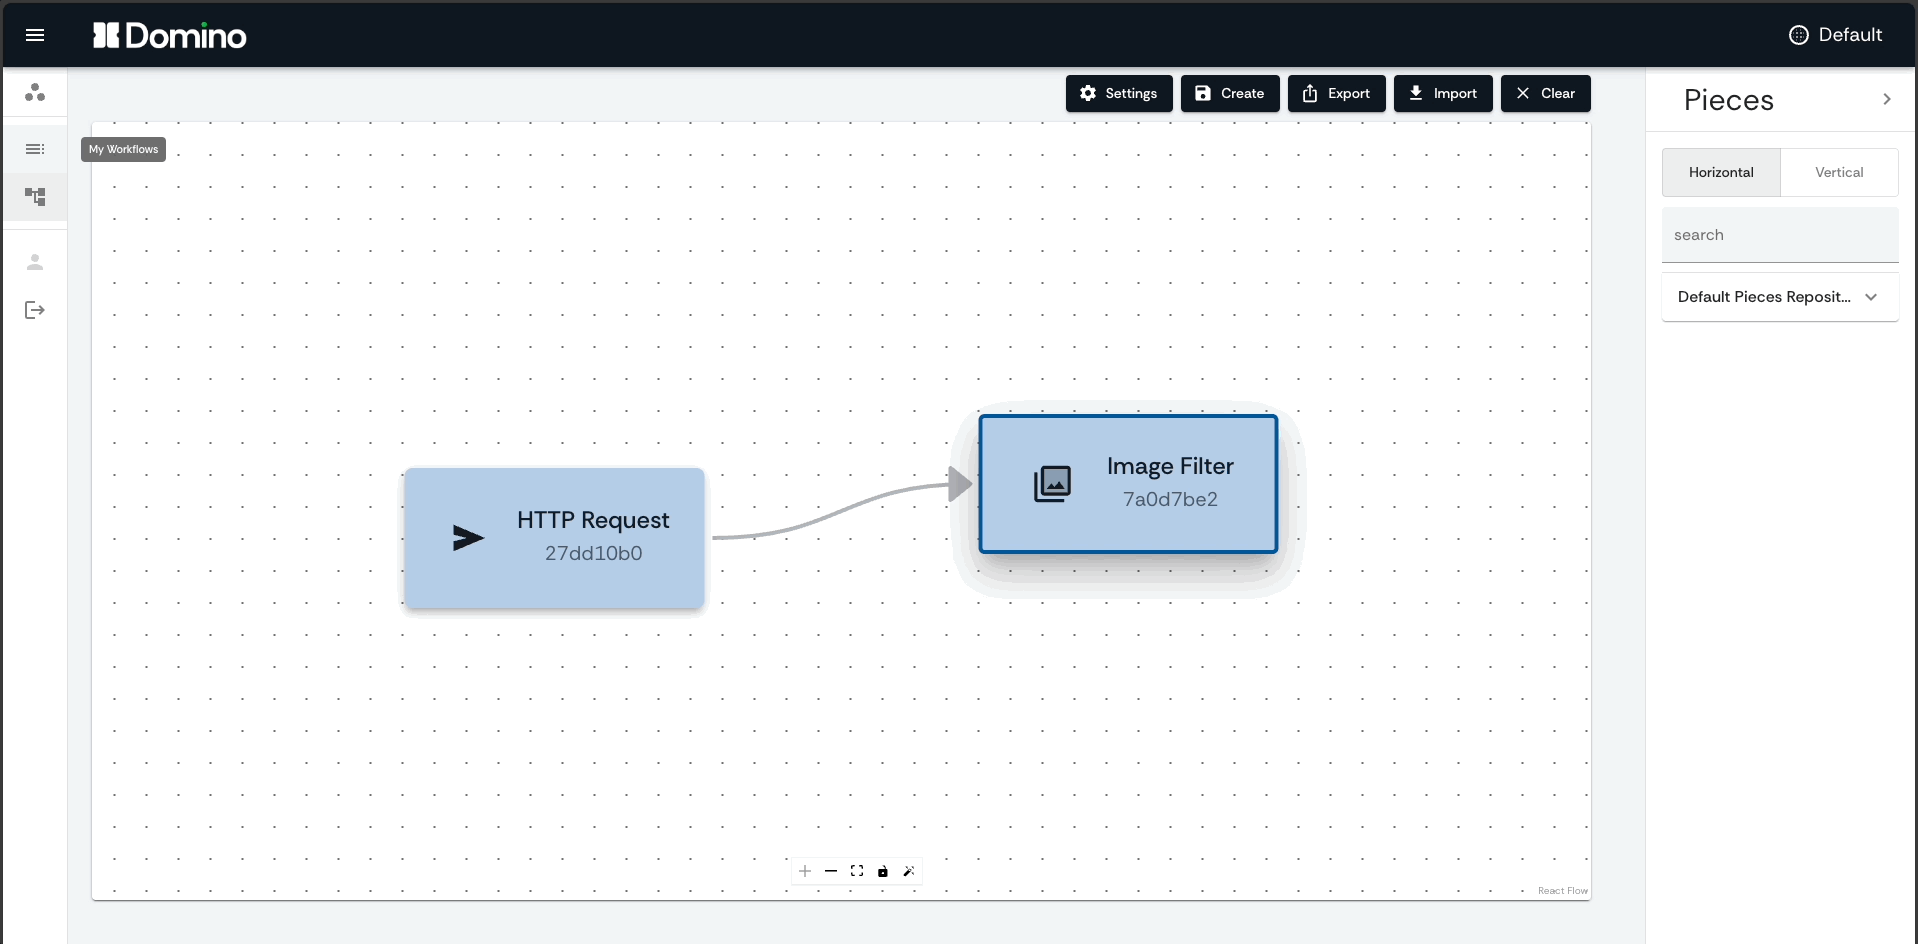
Let's start with a simple one: click on the Image Filter card and then OK to import it, the workflow template will be imported to the canvas. This workflow is composed by two pieces:
- HTTP Request: Make an HTTP request to an URL and return the result as base64 string. In our case we set a URL to an image.
- Image Filter: Apply a simple filter over an input image.
When creating a workflow you should configure its Settings and Pieces arguments.
- Pieces Arguments
- Workflow Settings
Furthermore, you have the capability to utilize output data from preceding Pieces as inputs in the subsequent Pieces. This is known as upstream data. To enable this functionality, simply check the from Upstream checkbox within the downstream Piece. By doing so, you will gain access to a list displaying the preceding outputs that match the expected input data type. Learn more about Pieces here

- Name: The name of your workflow, used for identification within the user interface. Should be unique within the workspace.
- Schedule: The frequency at which your workflow runs.
- Start Date/Time: Specify the initial date and time for when your workflow should begin running.
- End Date/Time: Indicate whether and when your workflow should cease running. If "Never" end date is specified, it will keep running indefinitely, according to your schedule.
- Storage: The type of shared storage file system to facilitate data sharing between pieces. When running in compose, the available options are limited to None (no shared storage) or Local (using the local file system). For more information on shared storage, refer to the Shared storage section.
Creating a workflow
Now that your workflow is configured, you can create it just by clicking on the Create button.
When creating a workflow, it won't be instantly available for execution. The creation process is asynchronous and may take a few seconds to complete.
Next, you can go to My Workflows page, where you can monitor all your workflows. To do that, click on the second button on the left side navigation bar.
Running and Monitoring workflows
Now your workflow is active and ready to run. Even if you've set up a schedule, you can always manually trigger a new workflow run, simply click the Run button directly in the workflows table, or select the desired workflow and, once in the workflows individual page, click the Run button.
By selecting the desired workflow, you'll be directed to the workflow's individual monitoring page. This page provides a comprehensive view, allowing you to follow the overall status of your workflow, as well as specific Pieces logs and real-time results!
- The top table displays all runs of the workflow.
- The bottom graph visualizes the real-time progress during execution or its final state after the run completion.
- For detailed monitoring of each Piece, including access to logs and results, simply double-click on the desired piece and navigate to the section on the right.

Congratulations! You just went from starting the Domino's platform to creating and running your first workflow!
What's Next?
Your Domino journey is just starting! Check the Domino Settings section to delve deeper into concepts such as Piece Repositories, Secrets, Local and Remote Shared Storage, and more!